







Water Maker Installation on a Boat: Step-by-Step Guide
Water Maker Installation on a Boat: Step-by-Step Guide
A water maker turns seawater into fresh water on board, but the installation decides whether it delivers rated output for years or fails within a season. Most problems traced back to commissioning are actually installation problems: air leaks on the suction side, undersized wiring, a badly placed intake, or a membrane that was never properly flushed.
This guide walks through a typical marine reverse osmosis installation in five stages, with the checks that matter at each one.
🚤 Step 1: Plan the Location Before Cutting Anything
Choose a dry, ventilated space close to the seawater intake and with enough clearance to remove the membrane housing end caps — typically at least 1.2 m of straight clearance in front of the pressure vessel. The area must stay above the waterline when the boat heels, and be away from engine exhaust, fuel vents and black-water discharge.
Allow for the feed pump, prefilter housings, high-pressure pump, membrane vessel and control panel, plus space to work on each. Check that the structure can carry the wet weight: a small system weighs 60–120 kg, a 1,000 L/h unit several hundred kilograms with water in the housings.
🔧 Step 2: Through-Hull, Seacock and Strainer
The intake is the most common source of air ingress. Fit a flush-mount through-hull of 316 stainless steel or Marelon with a proper backing plate, sealed with marine-grade sealant, well below the waterline and facing forward so it pressurises while underway.
- Fit a full-flow seacock directly on the through-hull so the system can be isolated for service.
- Add an external strainer or a sea strainer with a cleanable 1–2 mm screen ahead of the feed pump.
- Use reinforced suction hose with double stainless clamps on every connection, and keep the run short with a continuous rise to the pump.
Never tee the water maker intake off an engine or generator intake: the pump will starve and the engine may overheat.
💧 Step 3: Feed Pump and Prefiltration
The feed pump supplies 2–4 bar at the membrane inlet. Size it for at least 1.3 times the design feed flow, and mount it on flexible feet to isolate vibration. A low-pressure switch must cut the high-pressure pump if feed pressure drops, protecting the membrane from dry running.
Prefiltration is normally two stages: 20 µm followed by 5 µm, with differential pressure gauges across each housing. Replace cartridges at 0.7–1.0 bar differential, or every 15–30 days in normal service. Skipping this step is the fastest way to foul an RO membrane.
⚡ Step 4: High-Pressure Pump, Membrane and Brine Line
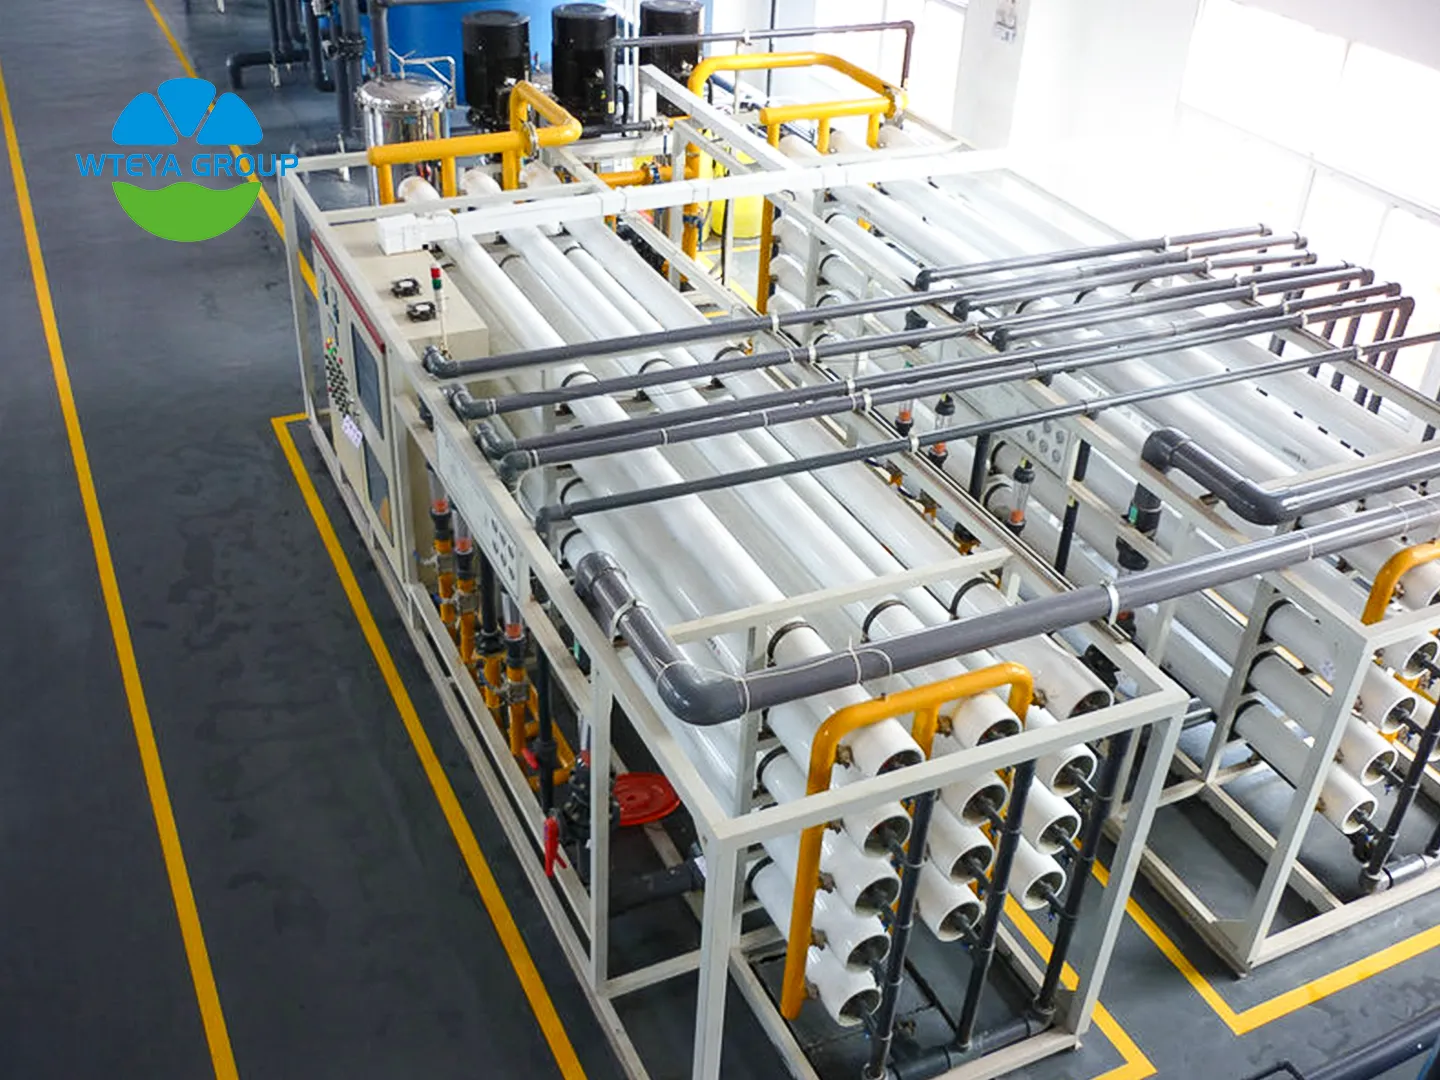
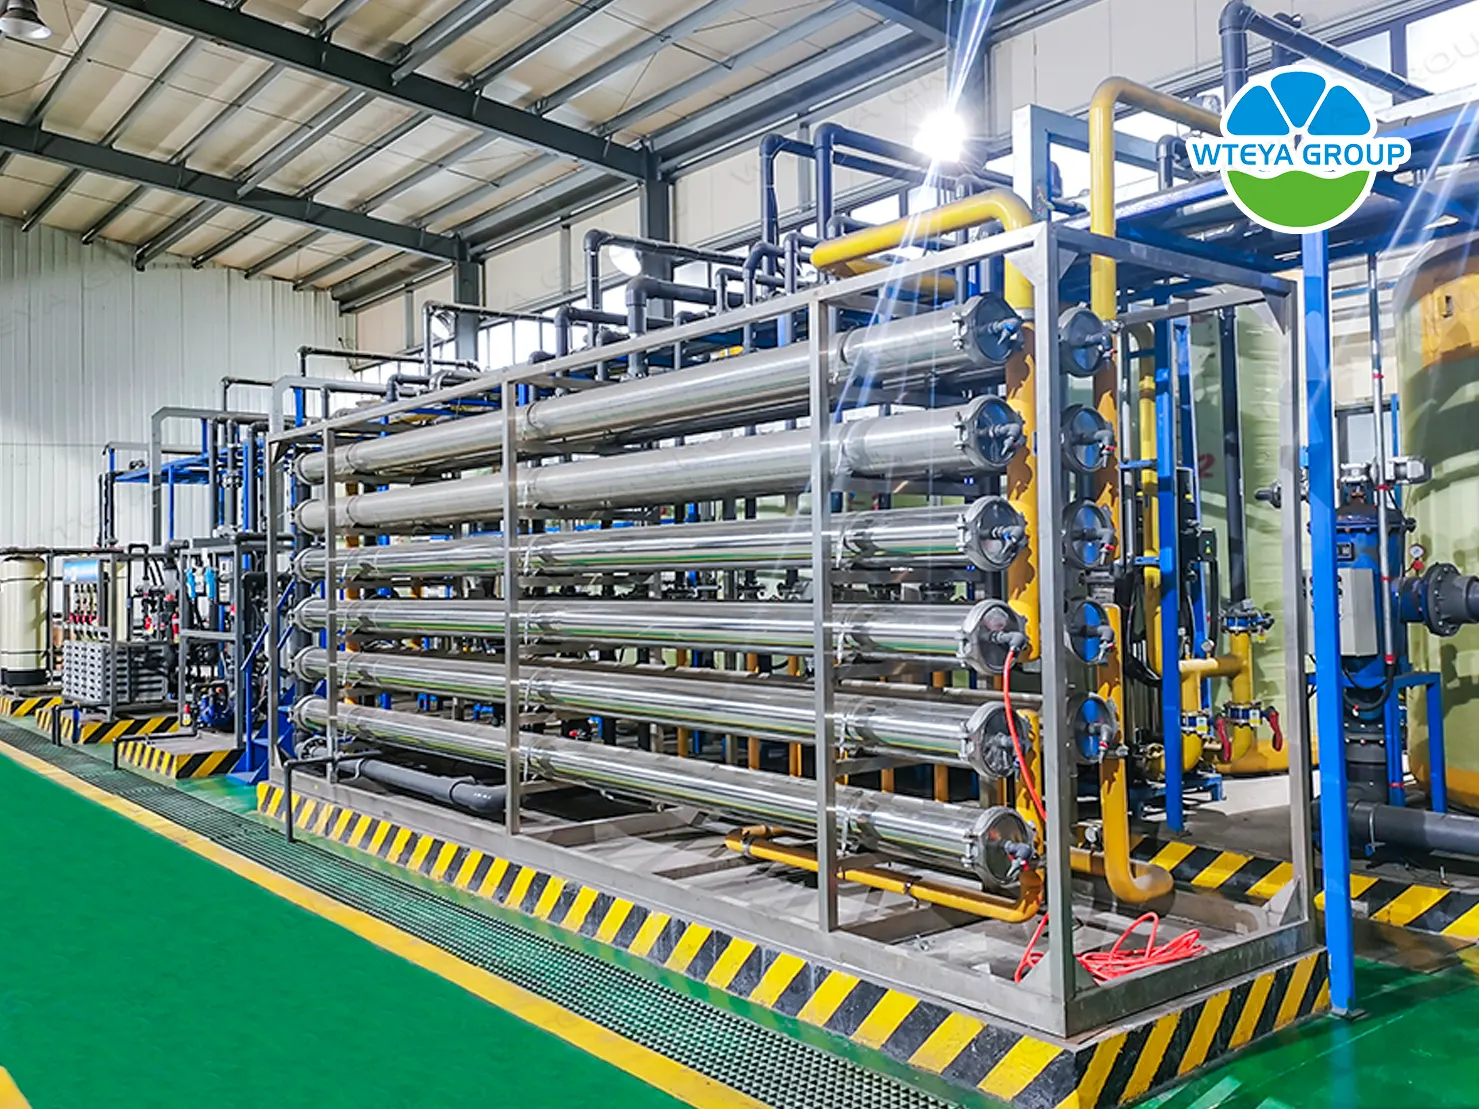
Seawater membranes need 55–70 bar; brackish water systems run at 15–25 bar. Fit a pressure relief valve on the high-pressure side, and use flexible braided hose rated well above working pressure between pump, vessel and brine outlet.
Install the membrane element with the brine seal facing the feed end, lubricate O-rings with silicone grease only, and tighten the end caps to the manufacturer's torque. Route the brine discharge above the waterline where possible, or use a vented loop, so the membrane is never exposed to back pressure.
An energy recovery device is worth considering on units above roughly 5 m³/day: it typically cuts specific energy from 3–5 kWh/m³ to 2.5–3.5 kWh/m³ on seawater duty.
🧪 Step 5: Product Water Plumbing and Quality Control
The first permeate must be diverted to drain: route the product line through a three-way divert valve so the operator can reject the first 10–15 minutes of production, when TDS is highest. After that, product should read below 500 ppm TDS for drinking water, and no more than 1,000 ppm to stay inside WHO guidance.
Fit a calibrated TDS meter with its probe in the product line, and a flow meter on both product and brine so recovery can be checked. Seawater systems normally run 35–45% recovery; brackish systems 70–80%. If recovery drifts outside that band, look for a fouled prefilter, a worn pump or a scaled membrane.
✅ Step 6: Commissioning and the First Start
Flush the prefilters and pipework with fresh water before the membrane is installed, then run the feed pump with the high-pressure pump off to confirm there are no air leaks and that flow reaches the vessel.
- Start on low pressure, then raise to design pressure gradually over 2–3 minutes.
- Check for leaks at every joint, and confirm brine flow before trusting the product flow.
- Record pressure, flows, recovery, TDS and power draw in a commissioning log — this baseline is what makes later fault-finding possible.
🛠️ After Installation: Keep It Running
Flush the membrane with fresh water after every use, and pickle it with a preservative solution if the boat will sit idle for more than a few weeks. Replace prefilters on schedule, clean the membrane when product flow falls 10–15% or salt passage rises, and expect a service life of 3–5 years with good pretreatment.
A correctly installed portable desalination machine or a fixed sea water treatment plant will deliver rated output within a few percent for years. Most failures on marine systems are installation errors, not equipment faults.
❓ Frequently Asked Questions
Can I install a water maker myself?
Mechanically, yes — the work is within reach of a competent boat owner. The parts that decide success are the through-hull position, wiring sized for the high-pressure pump's starting current, and a proper commissioning record. Have the electrical connection checked by a marine electrician.
How much power does a boat water maker need?
Small 12/24 V units draw 200–600 W and produce 30–120 L/h. A 1,000 L/h seawater system typically needs 3–5 kW at the pump, or 2.5–3.5 kW with energy recovery. Size the DC cabling for starting current, not running current.
How often should the membrane be cleaned?
When product flow drops 10–15% or product TDS rises noticeably at the same pressure and temperature — usually every 3–12 months depending on feed quality. Clean with an acid solution for scale and an alkaline solution for organic fouling, never both at once.
🤝 Become a WTEYA Authorized Dealer
WTEYA supplies portable and containerised desalination systems for boats, islands, resorts and remote communities. Dealers get exclusive territories, competitive factory pricing and full technical support, including sizing help, installation documentation and spare parts.
Tell us your market and target capacity, and we will send a dealer pack with model selection, pricing tiers and training options.
📱 WhatsApp: +86-1800 2840 855
✉ Email: info@wteya.com
🌐 Website: www.wteyaa.com